Monday, December 17, 2012

Snowflake gift tags

 
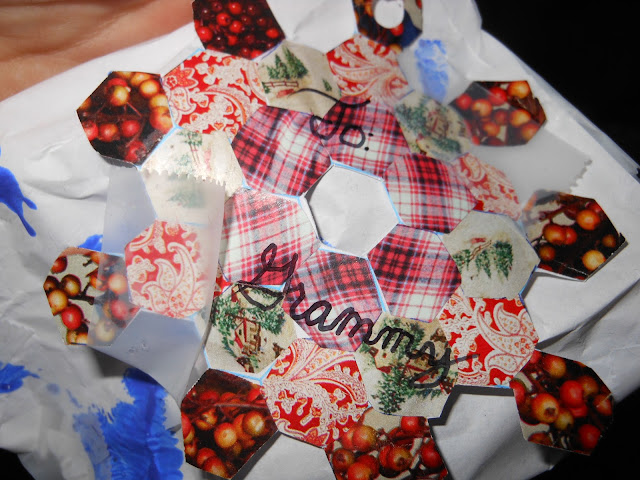
I got this idea from Michelle Made Me, and after I tried it, I decided it could be a nice gift tag. Her way  took a little long though, for so many presents.  So here is my simplified version: 
 
You will need:
 
a hexagon grid from here ( I think the 0.3 inch hexagon size works nice, but you can make it whatever size you like), markers, scissors
 
 
Design your own snowflake pattern on the grid with a marker.  Cut it out, and trace around it for each snowflake tag.  Color in a design such as dots, spirals, stripes,etc., in each hexagon with the markers.  If you're going to write the name of the recipient on the front, it's best not to make the middle too filled with designs or dark color.  Cut them all out.  Now all you have to do is attach them to your presents!  I think these would be really pretty with glitter on. 
These are really fun to customize for each person with their favorite color or something of that sort.
 
These are some of my snowflake results.  The second one is from Michele Made Me's tutorial. 
 
Have a Merry Christmas!


Friday, November 30, 2012

The "Christmas Shop"

  A peek into my "Christmas shop":
 
 
Tissue paper flowers,
 
 
A dragonfly magnet that also clips onto a flowerpot.


                                                              Isn't he cute?


A checkerboard for American Girl dolls,
 
 
 King me!
 
 
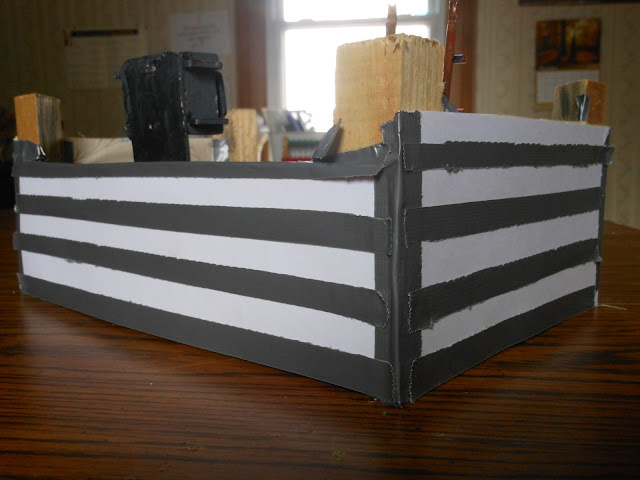
A dollhouse made out of a clementine box and painted wood furniture,
 
 
 This is the kitchen.  (It's not finished yet.  Two more rooms to go!)
 
 
The outside of the dollhouse is made from cardstock and duct tape.
 
 
A cutout  with a paint chip background,
 
 
This is a back scratcher.
 
 
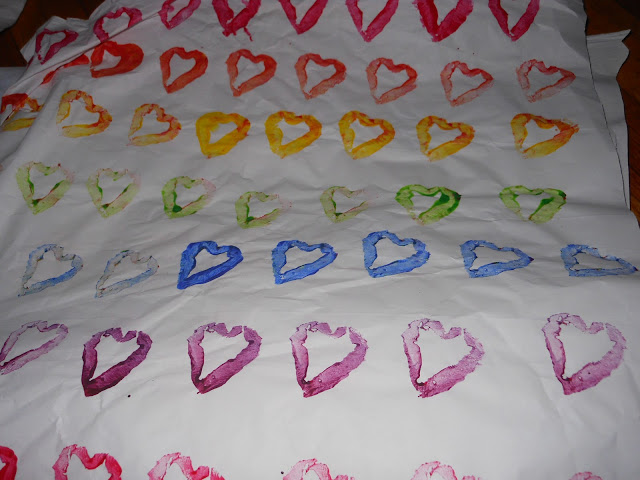
The following are handmade wrapping paper made from potato stamps:  Hearts
 
 
hand and feet prints,
 
 
 and random prints.
 

                                            I'm adding to pile all the time :)

                                  Merry present making!

Wednesday, November 7, 2012

Painting With Crayons


         Yes, you can paint with crayons.  You wanna know how?  OK.  I'll show you how to paint with crayons and make the card.  Bonus! 

                                                            You will need:
     Crayons, cupcake liners, muffin tin, scissors, paintbrush, card stock, marker, packing tape, and paper towels.


       Start by putting at least two cupcake liners in the muffin tin.  Otherwise, the crayon will bleed out onto the tin.  Yes, I learned this the hard way.  But more about that later... 
       Peel some crayons and put them in the cupcake liners.  Not too full, because they settle when they melt.  Put them in the oven until they melt.  I don't have an exact time, just keep checking on them every now and then.


  Now you're ready to paint!  Take a paint brush (make sure it's not your favorite, most beloved paintbrush.  You might have to throw it away after this) and, holding a paper towel under it, quickly move it to your paper and start painting!  This paint dries extremely fast, so use quick brush strokes.  Paint spots of color to cut out.  The picture above is an up-close picture of the texture of crayon paint.  


                Cut your card stock card out.   Cut out about 10 oval shapes for the balloons, and whatever shape you want for the balloon weight. Arrange the balloons how you like them on the paper, and draw some marker lines coming from them to the weight.


          Cut enough packing tape strips to cover the card. ( I used 3.)  Carefully lay the packing tape over the balloons and cut off the extra edges.  You're done!  Just a few more tips:  If you're like me, you had lots of paint left over.  Just stack the cupcake liners on top of each other and store in a Ziploc bag.  When you're ready to use them again, just heat them up in the oven!  If the crayon happened to leak out of the liners,  use your hairdryer to melt the bits, and wipe them up with a paper towel, then wash with soap and water.  


Friday, October 19, 2012

Eggshell Mosaic Vase

For my first ever craft on this blog, I am going to show you how to make an eggshell mosaic vase.  Even though it has such simple "ingredients" it looks very elegant when you're finished. 
 
You will need:
 
A clean, dry, maple syrup jar, Sharpies in desired colors, a smallish bowl of clean, dry, eggshells, a paintbrush, modge podge, and a pencil (which is optional, and which I forgot to show).
 

                To start with, color your eggshells with your Sharpies.  You can make designs like swirls or polka dots, but I just chose plain color.


        Then, crush the eggshells into pieces, and put them into separate colored piles.


         This is the optional part: draw your design with a pencil.  Of course, if you were simply covering the jar in eggshells, you wouldn't need to draw where every piece goes, as that could contine for hours, and everybody likes quicker crafts.  Sooo....


              ...Start putting your eggshells on!  You use the modge podge as a glue first, and then... well you'll see. 


            Continue.  Keep going.  There! You're ready for the background.  What I did was to use the leftover colors and pieces to make a colorful background.  If you're covering the whole jar, you may need to crack, clean, and color another egg.  Or two or three. 

              Now that you've covered the whole jar in eggshells, we get to use the modge podge as a finish.(I told you we would use it for something else!) Spread a layer of modge podge over the entire vase.  And if it isn't shiny enogh to your taste, put another layer on.
   
                Now for the finishing touch.  Outline your design with a black Sharpie.  I know it looks like I drew with Sharpie over top of the modge podge, but I didn't.  I think this is the second layer or something.  In other words, please don't do it, it will probably smudge. Wa-la!